Why You’ll Love this Spicy Buttermilk Fried Chicken Recipe
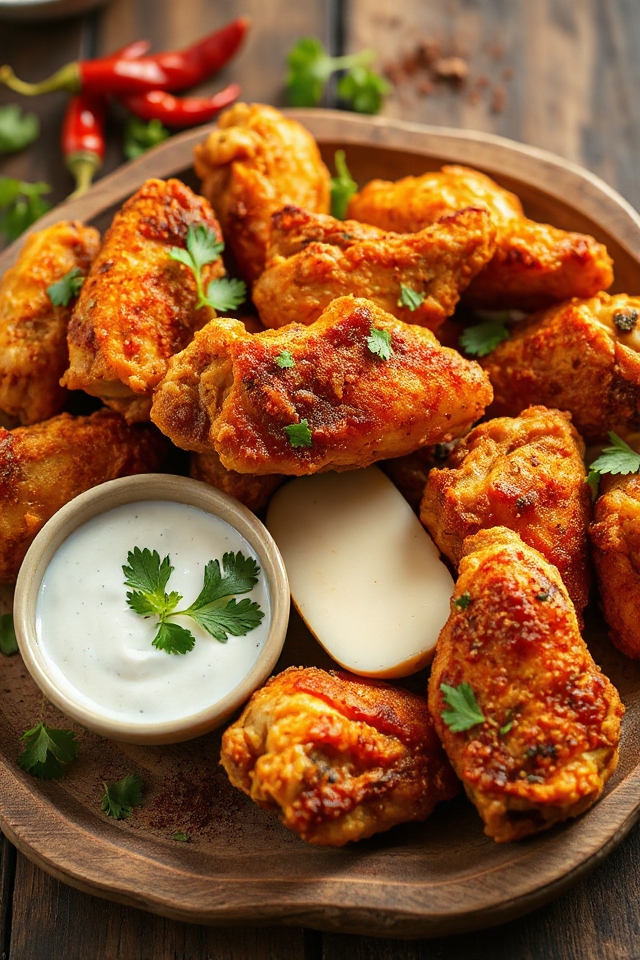
If you’re looking for a dish that combines bold flavors with crispy perfection, you’ll love this Spicy Buttermilk Fried Chicken recipe. The succulent chicken, marinated in zesty buttermilk, packs a punch with its spicy seasoning, making each bite a delightful experience.
I can’t get enough of the satisfying crunch that comes from the perfectly fried coating. It’s the ideal comfort food for gatherings or a cozy dinner at home.
Plus, the aroma that fills the kitchen while it cooks is simply irresistible. Trust me, once you try it, you’ll be hooked and craving more of this deliciousness!
Ingredients of Spicy Buttermilk Fried Chicken
When you’re ready to whip up some Spicy Buttermilk Fried Chicken, the first thing you’ll want to do is gather all the ingredients. It’s a simple list, but each item plays a significant role in creating that scrumptious, crispy goodness.
Whether you’re planning a family dinner or just treating yourself to something special, having everything on hand will make the cooking process a breeze. Plus, there’s something incredibly satisfying about laying out all your ingredients before diving in, don’t you think?
Here’s what you’ll need:
- 2 1/2 lbs meaty chicken pieces
- 1 cup buttermilk
- 1 tablespoon bottled hot pepper sauce
- 1/2 teaspoon salt (for marinade)
- 2/3 cup all-purpose flour
- 1/2 teaspoon salt (for coating)
- 1/2 teaspoon fresh ground black pepper
- 1 teaspoon cayenne pepper
- Shortening or cooking oil (for deep frying)
Now, let’s talk about those ingredients for a second. First off, if you don’t have buttermilk, you can easily make your own by mixing regular milk with a bit of vinegar or lemon juice. It’s a handy little trick I’ve used when I find myself without the real deal.
And if you’re not a fan of too much spice, feel free to adjust the cayenne pepper to your liking—no judgment here. Just remember that the marinating time is key; the longer the chicken soaks up those flavors, the better it will taste.
Trust me, you’ll want to let it marinate for as long as you can—24 hours is great, but even a couple of hours makes a difference. So, gather those ingredients, and get ready for some deliciousness.
How to Make Spicy Buttermilk Fried Chicken
Alright, let’s get cooking that Spicy Buttermilk Fried Chicken! First things first, if you haven’t already, grab your 2 1/2 lbs of meaty chicken pieces. You can choose your favorite parts—breasts, thighs, wings—whatever floats your boat. If you’re feeling fancy, you can skin the chicken, but I’m not judging if you leave it on.
Now, let’s whip up that marinade. In a big bowl or a large plastic bag (I prefer the bag for less mess), combine 1 cup of buttermilk, 1 tablespoon of hot pepper sauce, and 1/2 teaspoon of salt. Once it’s all mixed together, add the chicken pieces and make sure they’re well coated.
Now, here’s the hard part: you need to let that chicken chill in the fridge for at least 2 hours, but if you can swing it, letting it soak for up to 24 hours really amps up the flavor.
After your chicken has marinated and is ready to shine, it’s time to get your coating ready. In another bowl or bag, mix together 2/3 cup of all-purpose flour, 1/2 teaspoon of salt, 1/2 teaspoon of fresh ground black pepper, and 1 teaspoon of cayenne pepper. This is where the magic happens.
Take each piece of chicken out of the marinade, let it drain a bit, and then toss it in the flour mixture. Shake it around until it’s coated, but be sure to tap off the excess flour—nobody likes a clumpy crust.
Now, let’s get to the frying part. Heat up your shortening or cooking oil in a deep, heavy skillet over medium-high heat until it reaches a sizzling 365 degrees. Carefully place your chicken pieces, meaty side down, into the hot oil. Cook them uncovered for 10 minutes, but don’t start the timer until all the chicken is in.
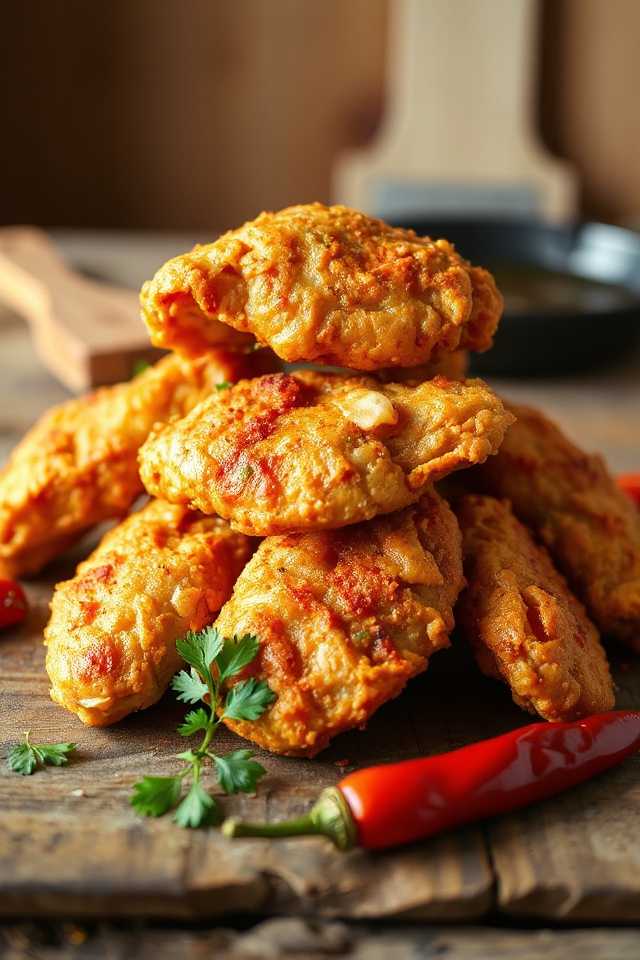
After that, use some tongs to flip them over and let them cook for another 10 to 12 minutes. You want that chicken to be crispy, golden, and fully cooked through. When they’re done, remove the chicken and let them drain on a paper towel-lined plate.
You might need to resist the temptation to plunge in right away—the smell is just so good. But trust me, letting them rest for a few minutes will make all the difference. Enjoy your delicious creation!
Spicy Buttermilk Fried Chicken Substitutions & Variations
After enjoying that crispy, golden Spicy Buttermilk Fried Chicken, you might find yourself wanting to mix things up a bit.
Try using different cuts of chicken, like wings or thighs, for a unique texture. If you’re looking for a milder kick, swap the cayenne for smoked paprika. You can also experiment with gluten-free flour or cornstarch for a lighter coating.
For a tangier twist, add some lemon zest to the buttermilk marinade. Feeling adventurous? Toss in some garlic powder or onion powder with the flour for added flavor.
There are endless ways to make this dish your own!
What to Serve with Spicy Buttermilk Fried Chicken
While Spicy Buttermilk Fried Chicken steals the show, the right sides can elevate your meal to a whole new level.
I love serving it with creamy coleslaw for that crunchy contrast. You can’t go wrong with fluffy biscuits or cornbread, either—they soak up all those delicious juices.
For a rejuvenating touch, I often whip up a simple cucumber and tomato salad. If you’re feeling adventurous, try pairing it with spicy pickles or jalapeño cornbread.
And don’t forget a side of mashed potatoes topped with gravy; it’s the ultimate comfort food pairing that complements the chicken perfectly.
Enjoy!
Additional Tips & Notes
To guarantee your Spicy Buttermilk Fried Chicken turns out perfectly every time, I recommend a few key tips.
First, don’t skip the marinating time; letting the chicken soak for 12 to 24 hours really enhances the flavor.
Second, make sure your oil is at the right temperature—365 degrees is ideal for that crispy crust. If you’re frying in batches, let the oil return to temperature between rounds.
Finally, for extra crunch, consider double-dipping the chicken in the flour.
Once cooked, let it rest on a wire rack to keep it crispy. Enjoy your delicious creation!