Why You’ll Love this Buttermilk Yeast Rolls Recipe
Buttermilk yeast rolls are a delightful addition to any meal, and I can’t wait to share why you’ll love this recipe.
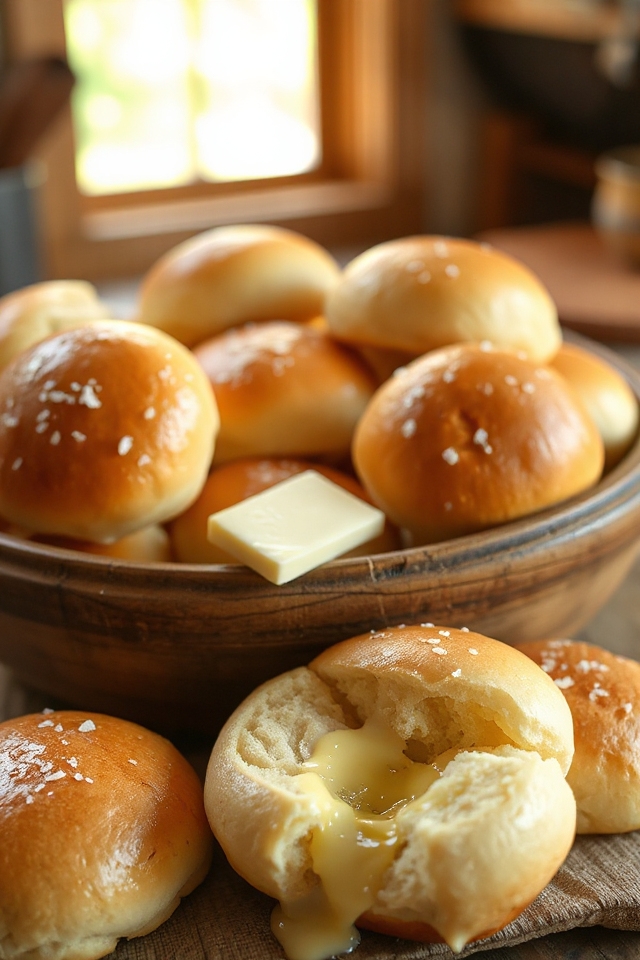
The moment you pull these rolls from the oven, your kitchen will fill with an irresistible aroma. Their golden-brown crust is simply inviting, and the soft, fluffy interior melts in your mouth.
You’ll appreciate how easy they’re to make, even if you’re new to baking. Plus, they’re incredibly versatile—perfect alongside soups, stews, or even as a base for sliders.
Trust me, once you try these rolls, they’ll become a staple at your dinner table.
Ingredients of Buttermilk Yeast Rolls
When it comes to making Buttermilk Yeast Rolls, the ingredients you choose can make all the difference. Each one plays a role in creating that soft, pillowy texture and delightful flavor that makes these rolls so special. Whether you’re a seasoned baker or just starting to explore the world of homemade bread, let’s take a closer look at what you’ll need to whip up a batch of these delicious rolls.
Here’s the list of ingredients you’ll need:
- 5-6 cups flour (all-purpose works well)
- 2 tablespoons sugar (to add a touch of sweetness)
- 2 teaspoons salt (for flavor balance)
- 1 tablespoon yeast (active dry yeast is perfect)
- 1/4 teaspoon baking soda (to help with leavening)
- 1 cup warm water (not too hot, just warm to the touch)
- 1 cup buttermilk (also warm, for that tangy flavor)
- 2 teaspoons butter (melted, because butter makes everything better)
- 1 egg (lightly beaten, to enrich the dough)
Now, let’s chat about these ingredients for a second. You might be wondering why buttermilk is so important. Well, it adds a lovely tanginess that really elevates the flavor of the rolls, making them memorable rather than just another bread on the table.
Don’t have buttermilk? No worries—just mix a cup of milk with a tablespoon of vinegar or lemon juice and let it sit for a few minutes. Voila! You’ve got yourself a buttermilk substitute.
And as for the flour, it’s all about the texture; using all-purpose flour gives you that perfect balance of fluffiness without being too dense. Remember, each ingredient works together to create that soft, dreamy roll, so let’s get ready to make some magic in the kitchen.
How to Make Buttermilk Yeast Rolls
Making Buttermilk Yeast Rolls is like inviting a warm hug into your kitchen. Start by taking 1 tablespoon of yeast and dissolving it in 1 cup of warm water—just warm enough that it feels comfortable to the touch, not hot enough to make you jump back like you just touched a stove. Let that sit for about 5 minutes, while you daydream about the glorious rolls that are about to come to life.
Once the yeast has had a chance to wake up and get bubbly, add in 2 tablespoons of sugar, 2 teaspoons of salt, 1/4 teaspoon of baking soda, and 1 slightly beaten egg. This is where things start to get fun; mix it all together until it’s combined.
Now, it’s time for some flour action—5 to 6 cups of it, to be precise. Start by adding just enough flour to make a stiff batter, and then beat it on medium speed for about 2 minutes. Your mixer will thank you later.
Next, pour in 1 cup of warm buttermilk and drizzle in 2 teaspoons of melted butter—because who doesn’t love that buttery goodness? Keep adding flour until you have a firm dough, and then knead it for about 8 to 10 minutes. Kneading is like a mini workout, so don’t be surprised if you start to feel a little like a bread-making champion.
Once your dough is smooth and elastic, pop it into a large buttered bowl and let it rise for about an hour, or until it’s doubled in size.
After an hour of anticipation (and maybe a little snacking), gently punch the dough down—yes, you can take out all that frustration from the day. Let it rest for about 5 minutes, and then divide it into 24 balls.
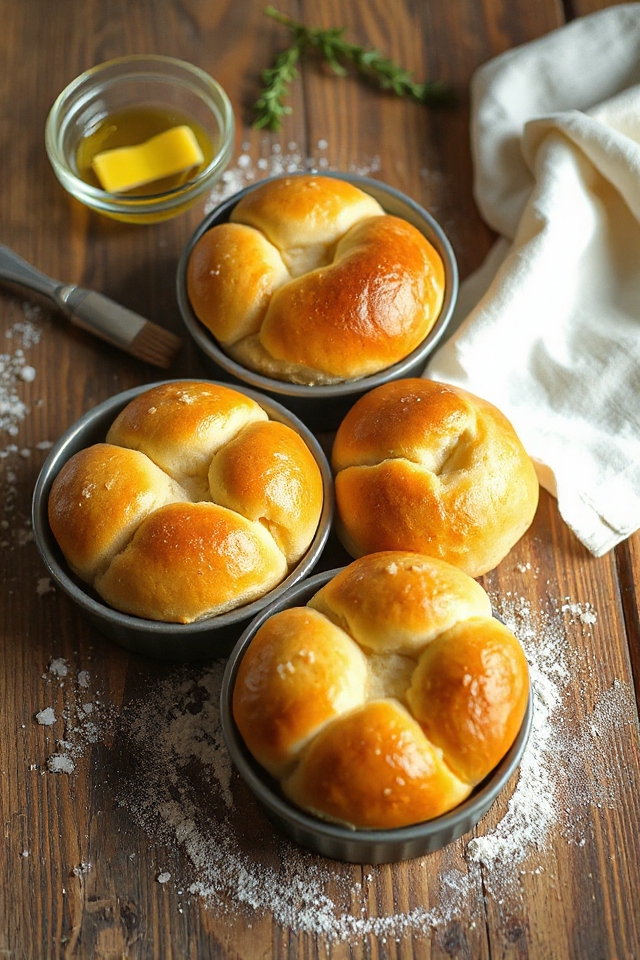
Place these little gems in three buttered round cake pans, cover them, and let them rise again until they’re doubled in bulk. This part is like waiting for a surprise party to unfold, but believe me, it’s worth it.
When they’re puffed and ready, brush them with heavy cream or melted butter, and then pop them in the oven preheated to 350 degrees. Bake for 25 to 30 minutes, and enjoy the heavenly aroma wafting through your home.
Once they’re golden brown, remove them from the pans and let them cool on a wire rack. You did it! Now it’s time to enjoy those delicious Buttermilk Yeast Rolls, preferably while they’re still warm.
Buttermilk Yeast Rolls Substitutions & Variations
If you’re looking to mix things up with your Buttermilk Yeast Rolls, there are plenty of substitutions and variations to contemplate.
For a dairy-free option, try using almond or oat milk in place of buttermilk. You can also swap out some all-purpose flour for whole wheat flour for a nuttier flavor.
Want a hint of sweetness? Add honey or maple syrup instead of sugar.
For a savory twist, mix in herbs like rosemary or garlic powder.
And if you’re feeling adventurous, try adding shredded cheese or cooked bacon for a deliciously unique roll.
The possibilities are endless!
What to Serve with Buttermilk Yeast Rolls
Buttermilk yeast rolls are a delightful addition to any meal, and they pair beautifully with a variety of dishes.
I love serving them alongside hearty soups, like chicken noodle or creamy tomato. They’re also perfect with roasted meats, such as a succulent pot roast or glazed ham.
If I’m having a family gathering, I often place them next to a fresh salad, drizzled with vinaigrette. For breakfast, they’re wonderful with scrambled eggs and bacon.
Don’t forget to slather them with butter or your favorite jam for an extra treat! These rolls elevate every meal, making it feel special.
Additional Tips & Notes
Serving buttermilk yeast rolls alongside your favorite dishes can enhance any meal, but there are a few tips that can take your rolls to the next level.
First, make certain your buttermilk is warm for better yeast activity. I also recommend kneading the dough until it’s really smooth and elastic; this guarantees a light texture.
For an extra touch, brush the rolls with melted butter right after baking for a lovely sheen. If you want to prep ahead, you can refrigerate the shaped rolls overnight—just let them rise before baking.
Trust me, these tips will elevate your rolls every time!