Why You’ll Love this Buttermilk Fried Chicken with Gravy Recipe
If you’re looking for a recipe that’ll impress your family and friends, you’ll absolutely love this Buttermilk Fried Chicken with Gravy.
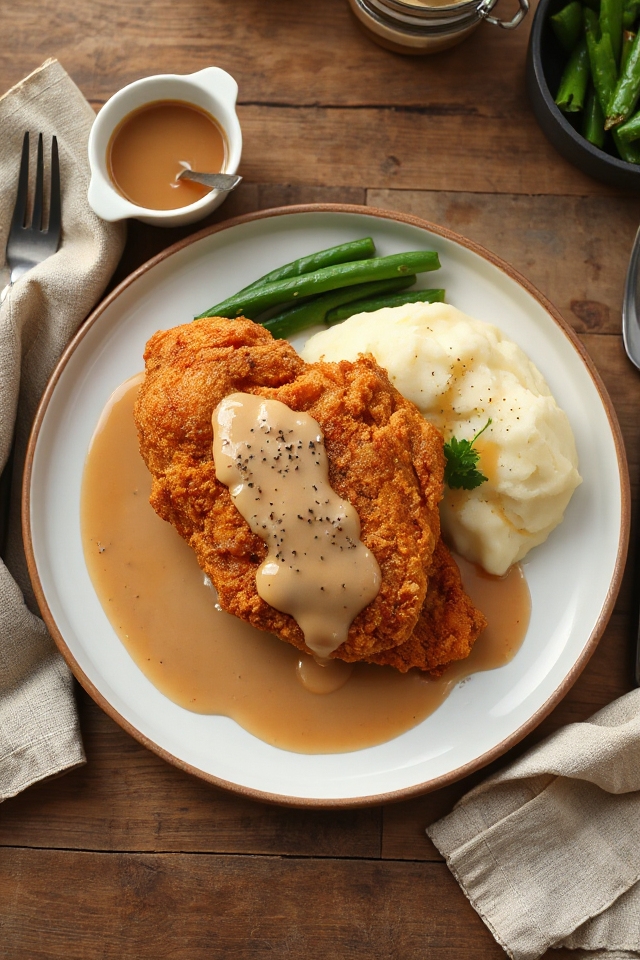
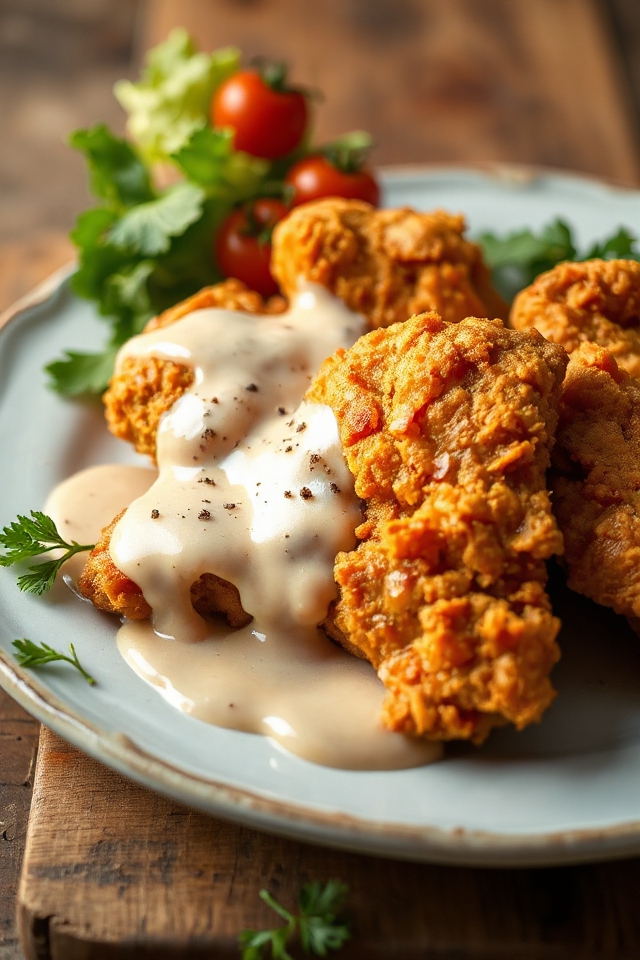
I can’t tell you how often I’ve been asked for this recipe after serving it. The chicken turns out incredibly crispy on the outside and juicy on the inside, thanks to the buttermilk marinade.
And let’s not forget the rich, creamy gravy that ties it all together. It’s a comfort food classic that evokes memories of family gatherings and Sunday dinners.
Trust me, once you make it, you’ll be counting down the days until you can serve it again!
Ingredients of Buttermilk Fried Chicken with Gravy
When it comes to comfort food, nothing beats the classic Buttermilk Fried Chicken with Gravy. Just thinking about it makes my stomach rumble. This dish isn’t just about the crispy chicken; it’s about all the love and care that goes into making it.
So, let’s talk about what you’ll need to whip up this mouthwatering meal.
Here’s a simple list of the ingredients you’ll need:
- 2 1/2 to 3 lbs of broiler-fryer chickens
- 1 cup of buttermilk
- 1 cup of all-purpose flour
- 1 1/2 teaspoons of salt
- 1/2 teaspoon of pepper
- Cooking oil (for frying)
- 3 tablespoons of all-purpose flour (for the gravy)
- 1 cup of milk
- 1 1/2 to 2 cups of water
- Additional salt and pepper to taste
Now, before you immerse yourself in the kitchen, let’s chat about some of the ingredients.
First off, buttermilk is a game changer; it tenderizes the chicken while adding that tangy flavor we all crave. If you don’t have buttermilk on hand, you can easily whip up a substitute by mixing regular milk with a splash of vinegar or lemon juice.
And about the flour—sure, all-purpose works great, but if you want to get adventurous, you could try a blend of whole wheat or even a gluten-free mix if you have dietary restrictions.
How to Make Buttermilk Fried Chicken with Gravy
Alright, let’s plunge into the delicious world of Buttermilk Fried Chicken with Gravy. First things first, you’ll want to grab your 2 1/2 to 3 lbs of broiler-fryer chickens and place them in a large flat dish. This is where the magic begins. Pour 1 cup of buttermilk over those poor, unsuspecting chickens and let them take a nice, relaxing soak in the fridge for about an hour. Think of it as a spa day for your chicken, tenderizing and flavoring it to perfection.
While that’s happening, let’s prepare the coating. In a double-strength paper bag (yes, I said a paper bag—if it’s good enough for takeout, it’s good enough for frying), combine 1 cup of all-purpose flour, 1 1/2 teaspoons of salt, and 1/2 teaspoon of pepper.
After the hour is up, drain the chicken and toss those pieces one by one in the flour mixture. Make certain to shake off that excess flour like you’re shaking off a bad day. Once coated, let the chicken rest on waxed paper for 15 minutes. This little step helps the flour stick better during frying—trust me, it makes a difference.
Now comes the fun part: frying. Heat up about 1/8 to 1/4 inch of cooking oil in a skillet. When it’s hot enough (but not smoking—no one wants a fire), gently place the chicken in the oil. Fry it until it’s beautifully browned on all sides.
Cover the skillet and let it simmer for 40 to 45 minutes, turning occasionally to guarantee even cooking. Just imagine that crispy goodness—your mouth is probably watering right now. After simmering, uncover the skillet and let it cook for an additional 5 minutes. This is where the magic happens.
Once done, remove the chicken and keep it warm while we whip up the gravy. For the gravy, drain about 1/4 cup of drippings from the skillet, then stir in 3 tablespoons of all-purpose flour until it’s bubbly. Add in 1 cup of milk and 1 1/2 to 2 cups of water, stirring until thickened and bubbly.
Let it cook for another minute, adjusting the consistency with more water if needed, and season with salt and pepper to taste. And voilà, you’ve created a creamy, dreamy gravy to drizzle over your chicken. Serve it all up and watch your loved ones’ faces light up at the sight of this comfort food classic. Seriously, you’ll be the hero of the dinner table tonight.
Buttermilk Fried Chicken with Gravy Substitutions & Variations
Now that you’ve mastered the art of making Buttermilk Fried Chicken with Gravy, let’s get creative with some substitutions and variations.
If you want a gluten-free option, try using almond or coconut flour instead of all-purpose flour. For a spicy kick, add cayenne pepper to your flour mixture or marinate the chicken in hot sauce along with the buttermilk.
You can also swap buttermilk for yogurt for a tangy twist. If you’re short on time, air frying the chicken yields a crispy result with less oil.
Experiment with these ideas, and you’ll discover your own favorite version!
What to Serve with Buttermilk Fried Chicken with Gravy
What pairs perfectly with the crispy, savory goodness of Buttermilk Fried Chicken with Gravy? For me, creamy mashed potatoes are a must—they soak up all that delicious gravy.
I also love serving a side of buttery corn on the cob; it adds a sweet crunch that complements the chicken’s richness.
A fresh coleslaw brings a revitalizing crunch and balances the meal beautifully.
And don’t forget some warm, flaky biscuits; they’re perfect for sopping up any leftover gravy.
If you want a drink, sweet tea or lemonade rounds everything out nicely.
Trust me, these sides will elevate your meal!
Additional Tips & Notes
While preparing Buttermilk Fried Chicken, remember that a little attention to detail can make a big difference in the final result.
I always let the chicken marinate in the buttermilk for at least an hour; it really tenderizes the meat. When frying, monitor the oil temperature—too hot, and the coating burns; too cool, and it won’t crisp up.
Don’t overcrowd the pan, either; it guarantees even cooking. For the gravy, scraping those browned bits from the skillet adds incredible flavor.
Finally, serve the chicken hot for the best taste. Enjoy your cooking adventure!