Why You’ll Love this Buttermilk Onion Rings Recipe
When you take a bite of these buttermilk onion rings, you’ll immediately understand why they’re a favorite. The combination of crispy, golden batter and sweet, tender onions creates a flavor explosion that’s hard to resist.
They’re not just a side dish; they’re the star of the show! Whether you serve them at a barbecue or as a snack while binge-watching your favorite show, their addictive crunch will have everyone coming back for more.
Plus, the buttermilk soak gives them a unique tang that elevates the whole experience. Trust me, once you try them, you’ll be hooked!
Ingredients of Buttermilk Onion Rings
Let’s talk about the ingredients you’ll need to whip up some mouthwatering buttermilk onion rings. If you’ve ever craved that satisfying crunch paired with sweet, tender onions, you’re in for a treat! I mean, who doesn’t love the sound of sizzling onions being transformed into crispy bites of joy?
Gather these ingredients, and you’ll be on your way to creating a dish that will have everyone begging for the recipe.
Ingredients:
- 3 large sweet onions
- 3-4 cups buttermilk
- 1 cup all-purpose flour
- 1 cup cornmeal
- 2 teaspoons salt
- 2 teaspoons onion powder
- 2 teaspoons chili powder
- 1 teaspoon sugar (optional, depending on onion sweetness)
- Oil for frying (preferably peanut oil)
Now that you have your shopping list, let’s chat about the ingredients a bit more. When it comes to onions, sweet varieties like Vidalia or Walla Walla really shine in this recipe. They bring that natural sweetness that pairs so well with the crunch of the batter.
And don’t skimp on the buttermilk; it’s the secret sauce that adds a delightful tanginess to the rings. Just imagine the creamy, rich flavor marrying with the spices. As for the cornmeal, it’s the magic ingredient that gives those rings that extra crunch you never knew you needed.
And if you’re feeling adventurous, you can always play around with the spices a bit—maybe add a dash of cayenne for a kick. Trust me, you’ll want to savor every bite!
How to Make Buttermilk Onion Rings
Now that you’ve gathered your ingredients, it’s time to plunge into the delicious world of making buttermilk onion rings. First things first, grab those 3 large sweet onions and cut them into thick 1/4-inch slices. As you slice, take a moment to appreciate the glorious aroma wafting through your kitchen. Sweet onions really do have a charm of their own.
Once you’ve got your onion rings ready, it’s time to soak them in 3 to 4 cups of buttermilk. Find a glass dish, toss those onion slices in, and let them luxuriate in that creamy goodness for about 30 to 60 minutes. This soaking step is essential—it helps tenderize the onions and adds that tangy flavor we all love.
While your onions are soaking, you can prepare the dredging mixture. Grab a brown paper sack—yes, the classic kind that reminds you of school lunches—and combine 1 cup of all-purpose flour, 1 cup of cornmeal, 2 teaspoons of salt, 2 teaspoons of onion powder, 2 teaspoons of chili powder, and if your onions aren’t the sweetest, toss in that 1 teaspoon of sugar. Give it a good shake to mix everything up.
Once your onions have soaked, gently drain them, but don’t rinse them; we want that buttermilk to hang on for dear life. Now, it’s time for the fun part—dredging! Place a handful of onion rings in the bag with your seasoned flour, shake it like you mean it, and make sure they’re nicely coated.
Next, it’s frying time, so let’s get that oil going. Pour at least 4 cups of oil into a heavy saucepan and heat it to a sizzling 375°F. When the oil is hot enough (you can test it by tossing in a tiny bit of batter—if it sizzles, you’re good to go), carefully add your coated onion rings in batches.
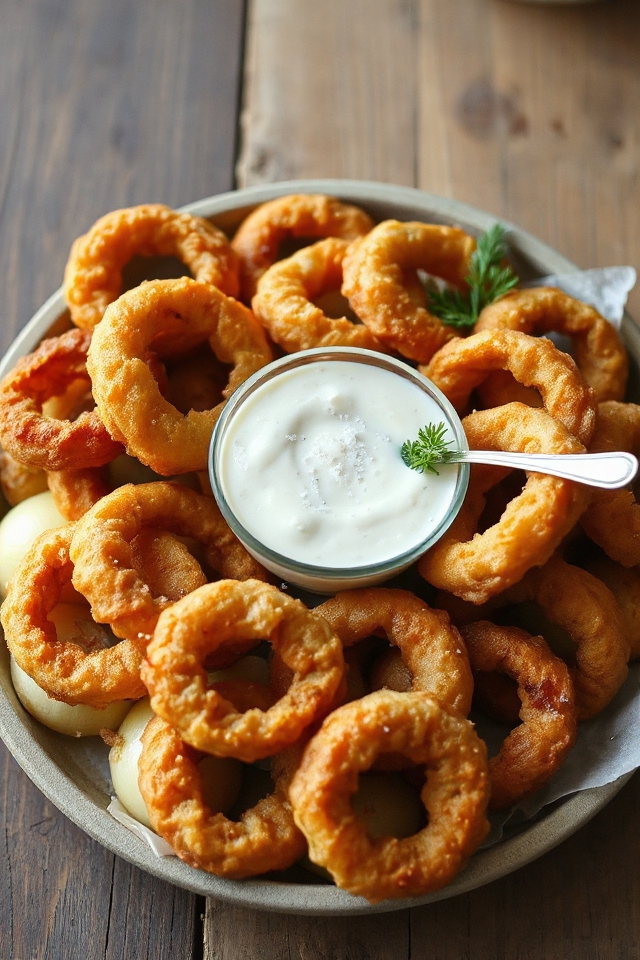
Fry them for about 2 to 3 minutes or until they’re a beautiful golden-brown. Patience is key here—don’t overcrowd the pan, or they won’t get that crispy texture we all crave. Once they’re done, drain them on paper towels and spread them out on a serving platter.
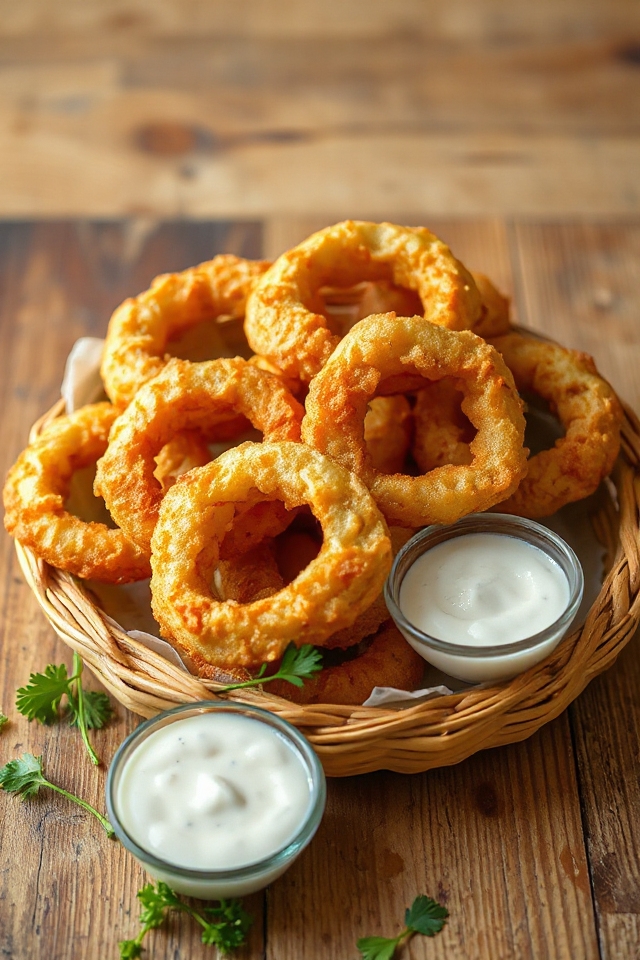
Here’s a little tip: if you pile them in a basket, they might get soggy, and nobody wants that. Serve them up hot and watch as everyone plunges in, savoring each crispy bite.
Buttermilk Onion Rings Substitutions & Variations
After perfecting the classic buttermilk onion rings, you might want to explore some fun substitutions and variations to customize them to your taste.
For a gluten-free option, try using almond flour or a gluten-free flour blend instead of all-purpose flour. If you’re feeling adventurous, mix in some spices like smoked paprika or garlic powder for extra flavor.
You can also switch up the dipping batter by adding grated Parmesan or even a splash of hot sauce to the buttermilk.
For a twist, try using different types of onions, like red or Vidalia, to give your rings a unique flavor profile.
What to Serve with Buttermilk Onion Rings
What goes best with the crispy goodness of buttermilk onion rings? I love serving them alongside a juicy burger or crispy fried chicken for a true comfort food feast.
They also pair beautifully with a tangy dipping sauce like ranch or spicy aioli, adding a kick to each bite.
For a lighter option, a fresh garden salad balances the richness perfectly.
If you’re feeling adventurous, try them with a side of chili for a fun twist.
No matter what you choose, those onion rings will elevate your meal and leave everyone craving more!
Enjoy every crunchy, flavorful bite!
Additional Tips & Notes
When enjoying those crispy buttermilk onion rings, keep a few tips in mind to enhance your frying experience.
First, make certain your oil is hot enough—375°F is key for that perfect crunch.
Don’t overcrowd the pan; fry in small batches to maintain the oil’s temperature.
If you want extra flavor, try adding garlic powder or smoked paprika to the flour mixture.
For a gluten-free option, substitute the flour with a gluten-free blend.
Finally, serve them immediately for the best taste and texture.
Trust me, these little details make all the difference in achieving that restaurant-quality experience at home!