Why You’ll Love this Buttermilk Fried Chicken Recipe
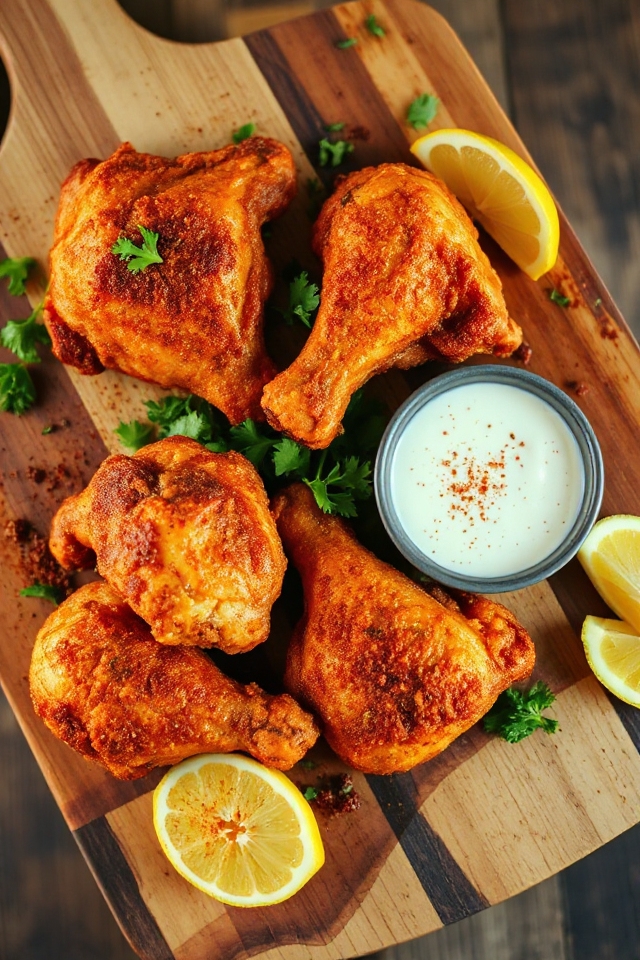
When you plunge into this buttermilk fried chicken recipe, you’ll quickly discover why it’s a favorite at any gathering. The combination of tender, juicy meat and a crispy, flavorful crust is simply irresistible.
I love how the buttermilk marinade infuses the chicken with moisture and tang, creating a mouthwatering bite every time. Plus, the seasoning blend adds just the right amount of kick.
Whether it’s a family dinner or a backyard barbecue, this dish never fails to impress. Trust me, the aroma wafting through your kitchen will have everyone enthusiastically awaiting a taste of this crispy goodness!
Ingredients of Buttermilk Fried Chicken
When it comes to making buttermilk fried chicken, the first step is gathering all your ingredients. Trust me, having everything ready before you get started makes the cooking process so much smoother.
Plus, it gives you a chance to admire your haul of deliciousness. You’ll need a few key components to create that crispy, golden crust and juicy chicken that will have everyone coming back for seconds (or thirds). So let’s check out what you’ll need to whip up this tasty dish.
Ingredients for Buttermilk Fried Chicken:
- 1 broiler-fryer chicken, cut into 8 pieces (skin on, please)
- 2 cups low-fat buttermilk
- 2 tablespoons kosher salt
- 2 tablespoons Hungarian paprika
- 2 teaspoons garlic powder
- 1 teaspoon cayenne pepper
- 1 cup flour (for dredging)
- Vegetable shortening (for frying)
Now, while these ingredients are pretty standard for a classic fried chicken recipe, there are a few things to keep in mind.
For starters, don’t skimp on the buttermilk—it’s the magic potion that tenderizes the chicken and packs it with flavor. If you can find it, go for low-fat; it still works wonders without being too rich.
As for the spices, feel free to tweak the cayenne pepper to match your heat preference. And if you’re feeling adventurous, you can experiment with different seasonings like onion powder or even some herbs.
Just remember, the key to great fried chicken is in the balance of flavors, so have fun with it!
How to Make Buttermilk Fried Chicken
Making buttermilk fried chicken is a delightful adventure that begins well before you even turn on the stove. First, you want to take that 1 broiler-fryer chicken and cut it into 8 pieces—don’t worry, it sounds scarier than it is. If you’ve never done this before, just think of it as an exciting puzzle.
Once your chicken is all prepped, toss those pieces into a plastic container and pour in 2 cups of low-fat buttermilk. This is where the magic starts. You’ll want to cover it up and let it hang out in the fridge for at least 12 hours, but if you can be patient, 24 hours is even better. This soaking process not only tenderizes the chicken but also infuses it with flavor. Just imagine how tender and juicy it’ll be when you’re done; it’s worth the wait.
When you’re ready to fry, drain the chicken in a colander. Now, grab a bowl and mix together 2 tablespoons of kosher salt, 2 tablespoons of Hungarian paprika, 2 teaspoons of garlic powder, and 1 teaspoon of cayenne pepper. This spice mix is where you’ll want to liberally season your chicken pieces. Think of it as giving your chicken a cozy little blanket of flavor.
After seasoning, dredge each piece in 1 cup of flour, shaking off any excess. This step is vital because it’s what’ll give your chicken that coveted crispy crust. Now, let’s get frying. Melt vegetable shortening in a cast iron skillet, just enough to come up 1/8 inch along the sides. Heat it to 325 degrees F, and don’t let it get too hot—nobody wants burnt chicken.
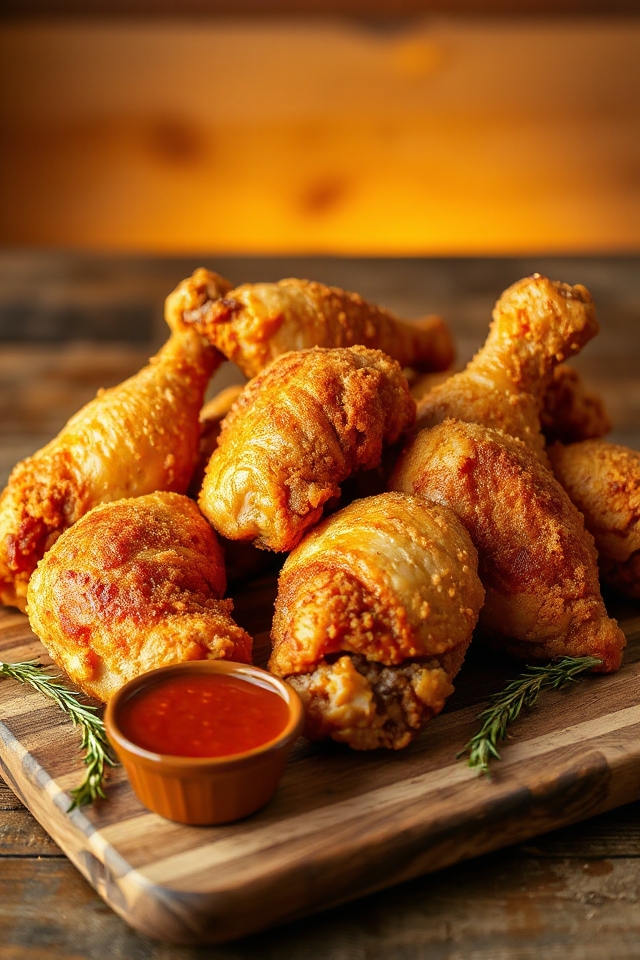
Carefully place the chicken skin side down, arranging the thighs in the center (they take longer to cook) and the breasts and legs around the edges. Fry them up for about 10 to 12 minutes per side, until they’re golden brown and cooked through.
Once the chicken is beautifully golden, transfer it to a rack set over a sheet pan. It’s important to avoid paper towels here; you want that crispy skin to stay crispy, not soggy. If you need to keep the chicken warm before serving, cover it loosely with foil. Just remember, your oven isn’t a good friend for this job, especially if it’s a gas oven—moisture will ruin all your hard work.
Buttermilk Fried Chicken Substitutions & Variations
While I love the classic buttermilk fried chicken recipe, there are plenty of tasty substitutions and variations you can try to put your own spin on this dish.
For a gluten-free option, substitute the all-purpose flour with a blend of almond flour and cornstarch. If you’re looking for a spicy kick, add some hot sauce to the buttermilk marinade or toss in a bit of smoked paprika.
For a healthier twist, use skinless chicken and bake it instead of frying. You could even try marinating with coconut milk for a tropical flavor.
The possibilities are endless!
What to Serve with Buttermilk Fried Chicken
To truly elevate your buttermilk fried chicken experience, consider pairing it with sides that complement its rich, crispy goodness.
I love serving it with creamy coleslaw; the cool crunch balances the chicken’s warmth perfectly. A side of buttery cornbread adds a delightful sweetness, while roasted vegetables bring a touch of earthiness.
Don’t forget mashed potatoes with gravy—it’s a classic pairing that never disappoints. For a revitalizing twist, try a simple cucumber salad to cut through the richness.
Each of these sides enhances the flavor of your fried chicken, making your meal even more enjoyable. Enjoy your feast!
Additional Tips & Notes
If you want your buttermilk fried chicken to turn out perfectly, keep a few key tips in mind.
First, letting the chicken marinate in buttermilk for at least 12 hours really enhances the flavor and tenderness.
Make sure to season the chicken generously before dredging it in flour; this helps lock in the spices.
Monitor the oil temperature closely while frying—too hot and it’ll burn, too cool and the chicken will absorb excess grease.
Finally, let the chicken drain on a rack to maintain that crispy texture.
Trust me, these little details make all the difference! Enjoy your cooking!