Why You’ll Love this Buttermilk Bread Recipe
If you’ve ever tasted freshly baked bread, you know the joy it brings, and this Buttermilk Bread recipe takes that experience to a whole new level.
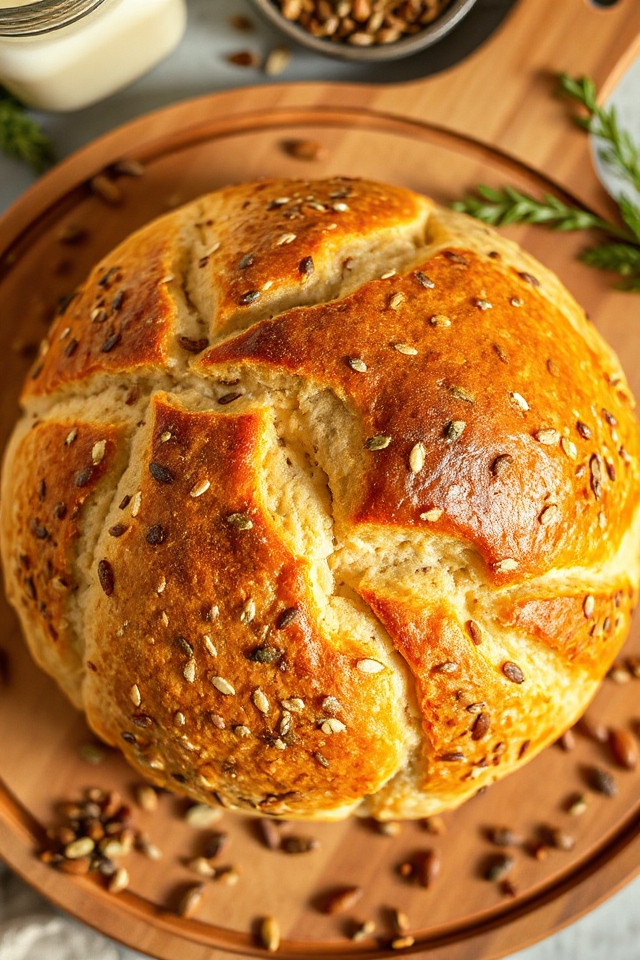
The moment it comes out of the oven, the warm, inviting aroma fills your kitchen, making it impossible to resist. Each slice is soft, fluffy, and slightly tangy, thanks to the buttermilk.
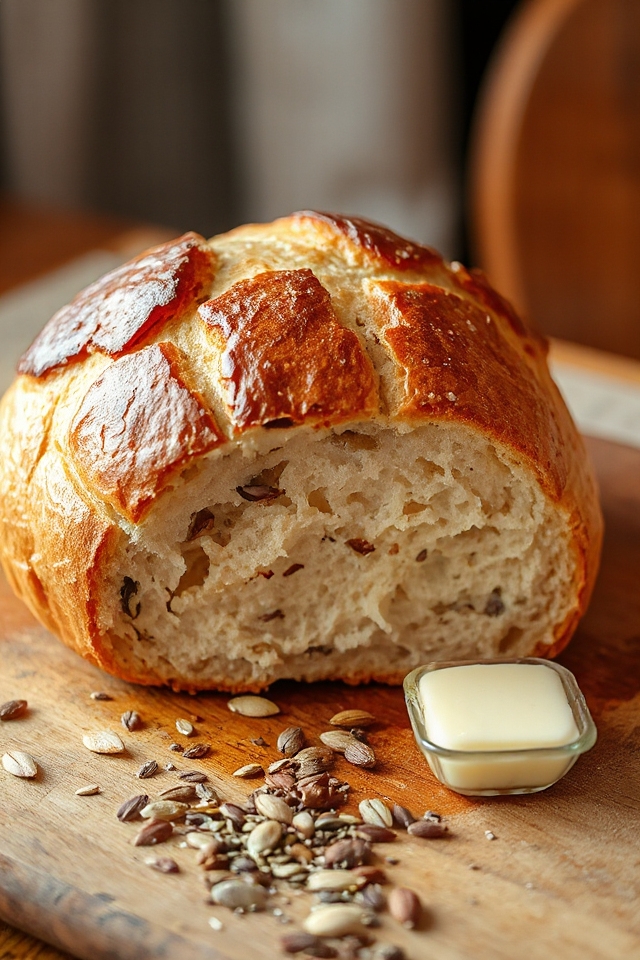
The added seeds give it a delightful crunch and an earthy flavor. Whether you enjoy it plain, with butter, or as a sandwich, this bread elevates any meal.
Trust me, once you try it, you’ll want to make it again and again!
Ingredients of Buttermilk Bread
When it comes to baking, the right ingredients can make all the difference, and this Buttermilk Bread recipe is no exception. You’ll want to gather everything you need before diving into the mixing and kneading, so let’s take a closer look at what you’ll be using.
Trust me, having all your ducks in a row (or should I say ingredients in a bowl?) will make your bread-making journey much smoother. Plus, there’s something satisfying about having everything laid out and ready to go, don’t you think?
Here’s what you’ll need to whip up this delightful bread:
- 500 g flour
- 500 ml buttermilk
- 40 g fresh yeast cakes (that’s about 1 package if you’re using store-bought)
- 1 teaspoon salt
- 50 g sunflower seeds
- 50 g pumpkin seeds
- 50 g flax seeds
- 50 g sesame seeds
Now, let’s chat a bit about these ingredients. First off, buttermilk is the star of the show, lending that lovely, tangy flavor that sets this bread apart from the rest.
If you can’t find buttermilk, don’t fret—just mix regular milk with a splash of vinegar or lemon juice and let it sit for about 5 minutes. As for the seeds, they’re not just for show; they add crunch, texture, and a nutritional boost.
Feel free to mix and match your seeds based on what you have on hand or what you enjoy. Just think of it as a fun little adventure in baking. So, are you ready to get started? Let’s move on to how to make this delicious bread!
How to Make Buttermilk Bread
Now that you’ve gathered your ingredients, it’s time to roll up your sleeves and make some Buttermilk Bread. It all begins with the star of the show, 500 ml of warm buttermilk. Gently heat it in a saucepan until it’s warm but not boiling—think of it like a cozy bath for the yeast.
Speaking of yeast, grab your 40 g of fresh yeast cakes, crumble them into the warm buttermilk, and let it sit for about 10 minutes. This little waiting game allows the yeast to wake up and start partying. You might notice some froth forming on the surface—this is a good sign that your yeast is alive and ready to work its magic.
While your yeast is getting all bubbly, let’s mix things up. In a large bowl, combine 500 g of flour with 1 teaspoon of salt. Make a little well in the center and pour in that frothy buttermilk/yeast mixture you just prepared.
Now, it’s time to invite the seeds to the party: toss in 50 g each of sunflower, pumpkin, flax, and sesame seeds. Mix everything together until it forms a dough that feels elastic but not sticky. If your dough is too wet, sprinkle in a bit more flour; if it’s too dry, add a splash of milk. You want it to be just right—like Goldilocks, but with dough.
Once you’ve got your desired consistency, knead the dough for about 10 minutes. It might feel like a workout, but trust me, this is where the magic happens.
After kneading, cover your dough with a cloth and let it rise in a warm place until it doubles in size. This usually takes about an hour, so you can take a little break—maybe catch up on a show or snack on some of those seeds.
Once it’s puffed up nicely, shape it into a round loaf and place it on a greased baking sheet. Cover it again and let it rise for another 30 minutes while you preheat your oven to a toasty 250°C.
Pro tip: place an ovenproof dish with boiling water on the bottom of the oven to create steam, which helps achieve that lovely crust. Once the oven is hot and ready, pop your loaf in the middle rack and bake it for 10 minutes, then reduce the temperature to 200°C and let it bake for about 45 minutes more.
When it’s golden and smells incredible, take it out, give it a little brush with cold water to make that crust shine, and voilà! You’ve just made a beautiful loaf of Buttermilk Bread. Now, how about that?
Buttermilk Bread Substitutions & Variations
While I love the classic Buttermilk Bread recipe, experimenting with substitutions and variations can lead to delightful new flavors and textures.
For a healthier twist, I sometimes swap whole wheat flour for half of the all-purpose flour. If I’m out of buttermilk, a mix of yogurt and water works just as well.
Adding herbs like rosemary or thyme can elevate the taste, while incorporating nuts or dried fruits gives it a unique flair.
For a sweeter version, I’ve tried adding honey or brown sugar. Each variation is a fun way to customize this bread to my tastes!
What to Serve with Buttermilk Bread
Buttermilk bread pairs wonderfully with a variety of dishes, making it a versatile addition to any meal.
I love serving it alongside hearty soups, like a rich tomato basil or a creamy potato leek. It also complements salads beautifully; try it with a fresh mixed greens salad topped with feta and walnuts.
For a more indulgent option, I enjoy slathering it with butter and pairing it with homemade jams or honey.
And let’s not forget about a classic breakfast—toast it up and serve with scrambled eggs and bacon for a delicious start to the day. You won’t be disappointed!
Additional Tips & Notes
To guarantee your buttermilk bread turns out perfectly every time, I recommend measuring your ingredients accurately and using fresh yeast.
It’s essential to warm your buttermilk just enough to activate the yeast without cooking it. If you’re experimenting with different seeds, feel free to mix and match; just keep the total weight the same.
Don’t skip the steaming step in the oven—it adds that lovely crust!
Finally, let the bread cool completely on a rack before slicing; this helps maintain its texture. Trust me, these small details make a significant difference in your final loaf! Enjoy your baking!