Why You’ll Love this Buttermilk Apple Cake Recipe
You’ll absolutely love this Buttermilk Apple Cake recipe for its perfect blend of flavors and textures.
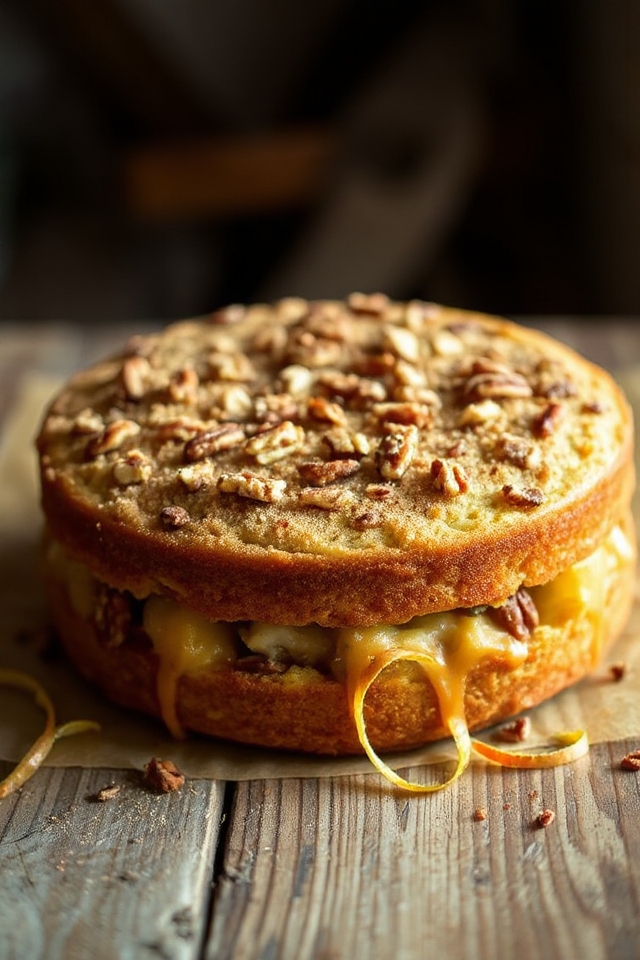
The moistness from the buttermilk complements the sweet, tender apples beautifully. With each bite, you’ll experience a delightful crunch from the pecans and a hint of cinnamon that dances on your palate.
It’s not just a cake; it’s a warm hug on a plate. I appreciate how easy it’s to whip up, making it perfect for both special occasions and a cozy night in.
Trust me, once you try it, you’ll be coming back for seconds—and thirds! Enjoy every slice!
Ingredients of Buttermilk Apple Cake
When it comes to baking, the right ingredients can make all the difference, and this Buttermilk Apple Cake is no exception. This cake is a fantastic blend of sweet and savory flavors, and it’s super simple to put together. If you have a few apples lying around and some buttermilk in your fridge, you’re already halfway there.
Plus, the ingredients are pretty basic, which means you likely won’t have to make a special trip to the grocery store—unless you’re out of brown sugar, then it’s a must. Let’s explore what you’ll need to create this delightful treat.
Ingredients for Buttermilk Apple Cake:
- 3/4 cup brown sugar, firmly packed
- 1/3 cup oil (vegetable or canola works great)
- 1 egg, slightly beaten
- 1 teaspoon vanilla extract
- 1 1/2 cups all-purpose flour
- 1/2 teaspoon baking soda
- 1/4 teaspoon salt
- 1 cup apple, peeled and chopped (any variety you have on hand)
- 1 cup buttermilk
- 1/4 cup brown sugar (for topping)
- 1/4 cup chopped pecans (or walnuts, if you prefer)
- 1/2 teaspoon cinnamon (cinnamon lovers, rejoice!)
Now, let’s talk a bit about these ingredients. The beauty of this cake lies in its flexibility. Don’t have buttermilk? No problem; you can easily make a substitute by mixing milk with a little vinegar or lemon juice and letting it sit for about five minutes.
And those apples? You can use whatever type you have on hand—Granny Smith for a tart bite, or Honeycrisp for a sweeter flavor. The pecans add a nice crunch, but if you’re not a fan, feel free to leave them out or swap them with another nut.
Just remember, cooking is all about making it your own, so don’t stress too much about being perfect. After all, a little improvisation in the kitchen can lead to some of the best surprises. Happy baking!
How to Make Buttermilk Apple Cake
Alright, let’s explore the wonderful world of baking this Buttermilk Apple Cake. It’s easier than you might think, and trust me, your kitchen will smell absolutely divine.
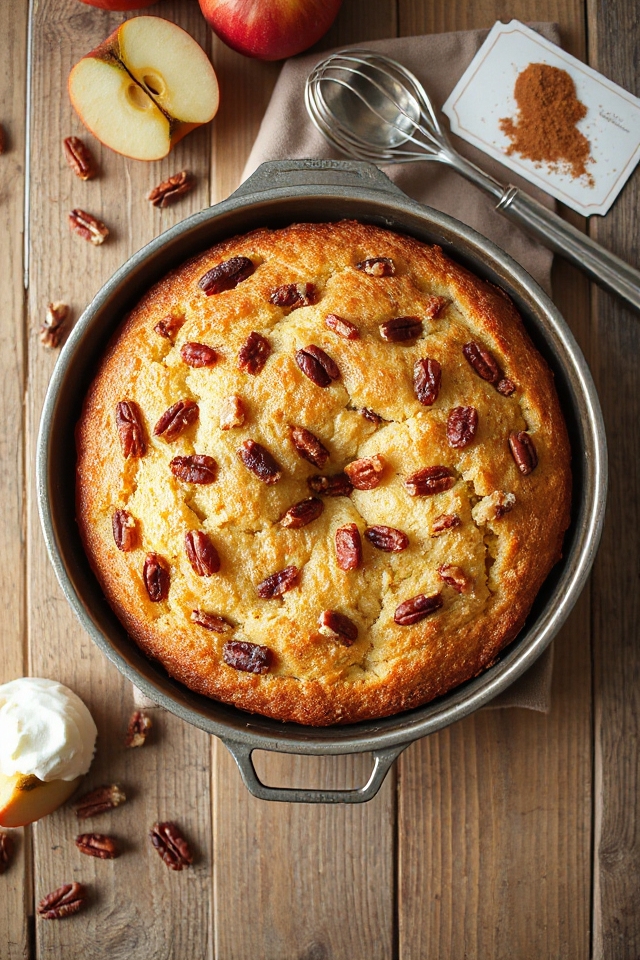
First things first, preheat your oven to 325°F. This is essential because we want our cake to start baking right when it hits the oven, ensuring it rises beautifully. While that’s warming up, grab a 9-inch square pan and grease it up—no one wants a cake that’s stuck to the bottom, right?
Now, in a large mixing bowl, we’re going to blend together 3/4 cup of firmly packed brown sugar, 1/3 cup of oil (vegetable or canola works like a charm), 1 slightly beaten egg, and 1 teaspoon of vanilla extract. The mixture should be smooth and inviting, almost like a cozy hug in a bowl.
Next, let’s tackle the dry ingredients. In another bowl, combine 1 1/2 cups of all-purpose flour, 1/2 teaspoon of baking soda, and 1/4 teaspoon of salt. Once that’s mixed, add the dry ingredients to your wet mixture.
Now comes the fun part—fold in 1 cup of peeled and chopped apples and 1 cup of buttermilk. The batter will be thick, but don’t worry, it’s supposed to be that way. Just mix it all together until everything is moistened, and try not to think about how you’re going to clean the bowl later.
When your batter is ready, spread it evenly into the greased pan. It should look like a lovely, thick canvas, just waiting for its masterpiece topping.
In a small bowl, combine 1/4 cup of brown sugar, 1/4 cup of chopped pecans (or walnuts if you’re feeling fancy), and 1/2 teaspoon of cinnamon. Sprinkle this mixture generously over the batter. Think of it as a warm, crunchy blanket for your cake.
Now, pop that bad boy into the oven and let it bake for about 30 to 35 minutes. You’ll know it’s done when the edges are golden brown and a toothpick inserted into the center comes out clean.
And just like that, you’ve created a cake that’s sure to impress—even if you do plan to eat it all by yourself.
Buttermilk Apple Cake Substitutions & Variations
While I love the classic Buttermilk Apple Cake recipe, sometimes it’s fun to mix things up with substitutions and variations.
For a healthier twist, you can swap half the oil for unsweetened applesauce. If you want a nutty flavor, try adding walnuts instead of pecans. For a spicier kick, consider a dash of nutmeg along with the cinnamon.
If you’re short on buttermilk, regular milk mixed with a tablespoon of vinegar works well. You can also use different fruits, like pears or cranberries, to switch up the flavor.
The possibilities are endless, so get creative and enjoy!
What to Serve with Buttermilk Apple Cake
What pairs best with a delicious slice of Buttermilk Apple Cake? I love serving it warm with a scoop of vanilla ice cream; the creaminess complements the cake’s spiced flavors beautifully.
If I’m in the mood for something lighter, a dollop of whipped cream works wonders too. A drizzle of caramel sauce adds an indulgent touch that makes every bite heavenly.
For a revitalizing contrast, I sometimes pair it with a cup of spiced chai or a robust coffee.
Whether it’s dessert or a cozy afternoon treat, these pairings elevate the experience and make it truly memorable. Enjoy!
Additional Tips & Notes
Serving Buttermilk Apple Cake with ice cream or whipped cream adds a delightful touch, but there are also a few tips that can enhance your baking experience.
First, choose tart apples like Granny Smith for a balanced flavor. Make sure your buttermilk is fresh; it really makes a difference in texture.
If you want a nuttier taste, toast the pecans before adding them to the topping. Don’t overmix the batter; a few lumps are okay.
Finally, let the cake cool in the pan for about 10 minutes before transferring it to a wire rack. Enjoy your delicious creation!